Winter Is Coming: Your Complete Weatherization Checklist for Extreme Weather Resilience
Every molecule of warm indoor air wants to escape to the outdoors—but you can take steps to keep each one inside to save on heating costs
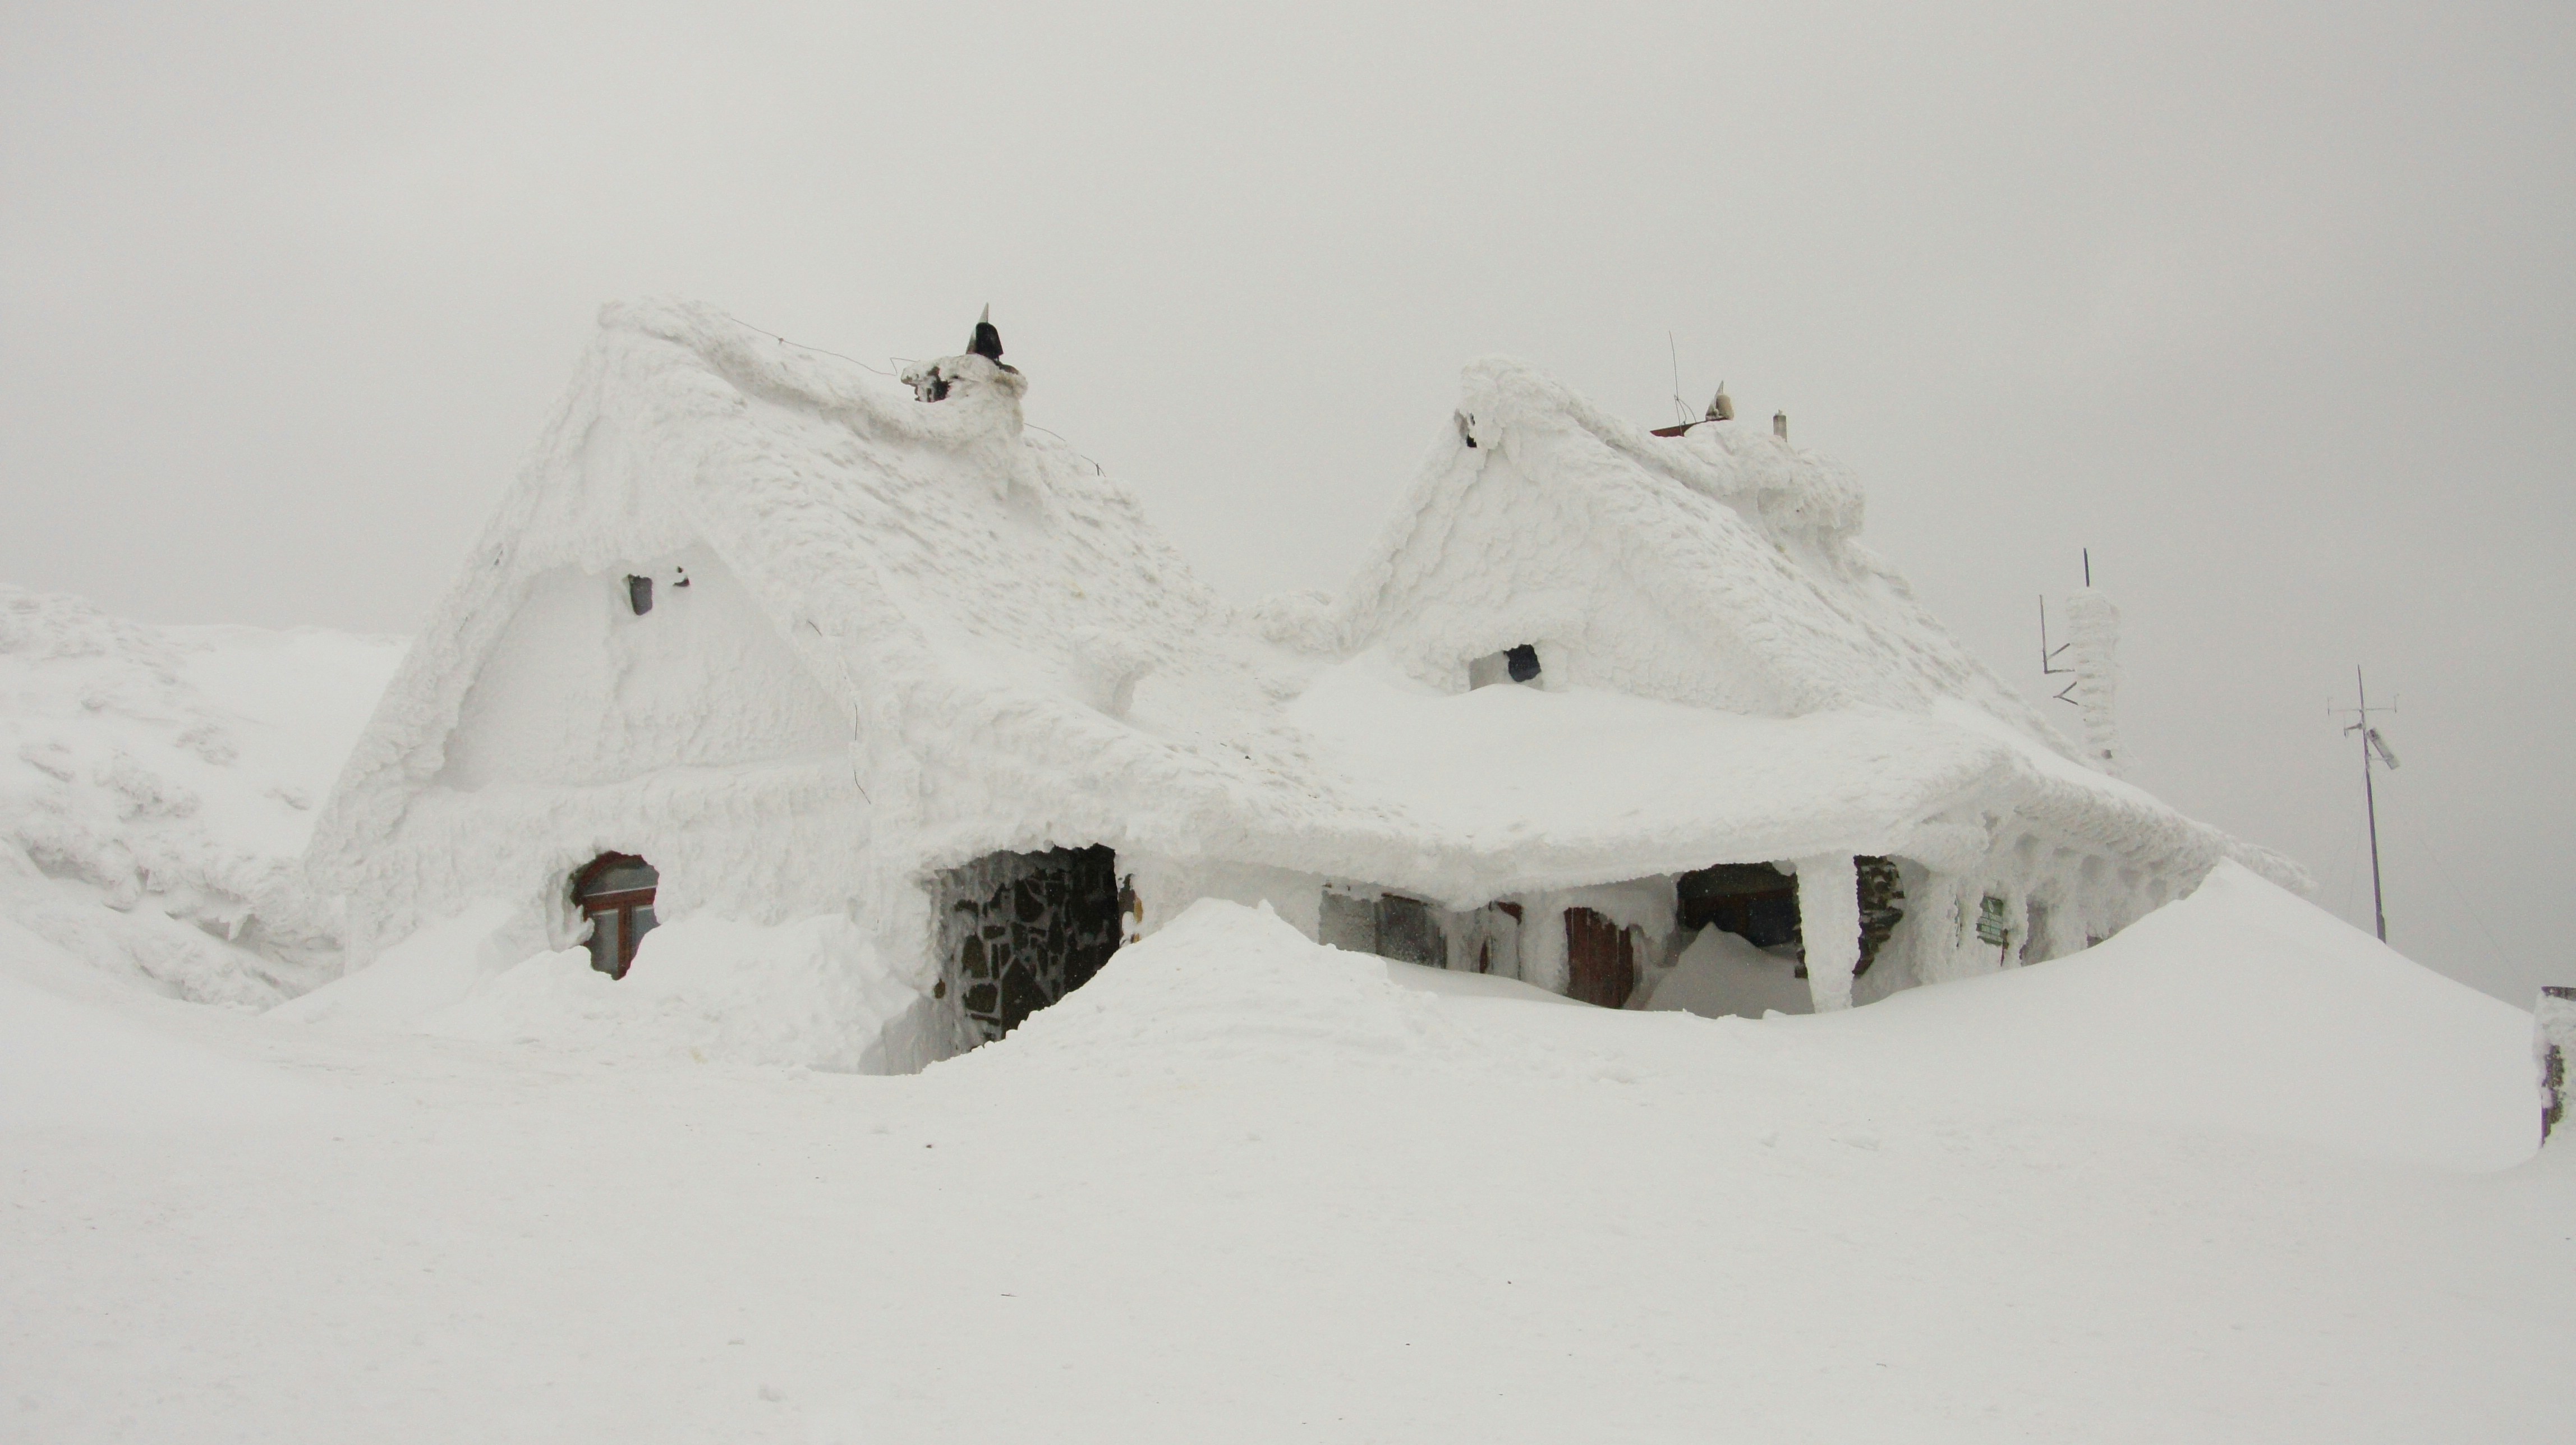
It’s 2 AM on a frigid January night when the power goes out during an ice storm. Or it’s 3 PM on a sweltering summer day when a heat wave pushes temperatures past 110°F just as your air conditioning fails. In both scenarios, whether you face minor inconvenience or a genuine crisis depends on your home’s weatherization and your preparation. October is a golden window to get ready before winter’s first blast or next summer’s scorching heat.
A well-weatherized home maintains safe temperatures all season without power, so you never need to worry about pipes freezing or your bedroom becoming a heat chamber. Whether you rent an apartment or own a house, this guide helps you prepare for the more intense and more frequent weather extremes heading your way.
Quick Start: Renter-Friendly Weatherization (No Permission Required)
Test for Air Leaks. Walk around your home on a windy day with lit incense, moving it along window frames, door edges, outlets, and baseboards. When smoke wavers or gets sucked toward cracks, mark these spots with painter’s tape. Focus on leaks that you can feel with your hand—those are the most costly.
Install Window Insulation Film. Window insulation kits turn single-pane windows into near double-pane performance. Available for $30 or less per large window, these create an insulating air gap between plastic and glass. In cold climates, apply before the heating season—they’re nearly invisible when properly installed — and remove completely in spring. In warm climates, use kits in summer with reflective films that block solar heat gain.
Deploy Draft Stoppers and Weatherstripping. Air leaking under doors can account for $1 of every $10 on unnecessary heating and cooling losses due to constant passive airflow. Removable door sweeps and draft stoppers cost $20 or less to stop this loss. For better performance, stick-on foam weatherstripping around door frames requires no tools and makes dramatic comfort improvements. Prioritize exterior doors for maximum return on investment.
Seal Electrical Outlets. Install foam gaskets behind outlet and switch covers on exterior walls. Simply unscrew the cover, place the gasket, then replace the cover. No electrical work is required; the process is completely reversible and immediately noticeable.
Use Thermal Curtains. Heavy insulated curtains reduce window heat loss by 25%. In cold climates, close at sunset to trap heat and open during sunny winter days to let in free solar heat. In hot climates, close during the day to block heat and open at night to allow heat to flow out through your window as infrared radiation. Choose curtains with white or reflective backing.
Intermediate: Weatherization Projects Requiring Landlord Approval or Homeownership
Apply Professional-Grade Caulk and Sealant. Caulking gaps around window frames, door frames, and penetrations (pipes, wires, vents) creates an air barrier that dramatically improves energy efficiency. Use exterior-grade caulk for outside work and paintable latex caulk for interior applications. A single tube of caulk can seal multiple windows or doors. Focus on any gap through which you can see daylight or feel air moving. For renters, discuss this improvement with your landlord—proper caulking not only stops airflow, but also protects their property from water damage and can deter pests from living in walls or attics.
Install Permanent Weatherstripping Systems. While removable foam strips work, metal or vinyl V-strip weatherstripping installed in window channels and door jambs provides superior, long-lasting protection. These systems can last decades compared to foam strips that often need annual replacement. V-strips create effective seals while still allowing windows and doors to operate normally.
Insulate Your Water Heater and Pipes. Water heater blankets can reduce standby heat losses from a tank. Pipe insulation prevents heat loss from hot water lines and—critically—prevents frozen pipes during power outages or extreme cold. Install foam pipe insulation on all accessible hot water pipes and any cold water pipes in unheated spaces. This simple measure provides passive freeze protection that works even when power fails. In warm climates, insulating hot water pipes reduces cooling loads by preventing waste heat from warming living spaces.
Upgrade Attic Insulation to Climate-Appropriate Levels. The effectiveness of insulation at resisting (i.e., slowing down) heat transfer is measured by “R Value.” The Department of Energy recommends R-values between R-30 and R-60 for attic insulation, depending on your climate zone. Most homes fall short of these targets. Check your attic insulation depth—if you can see the tops of floor joists, you need more insulation. For cold climates (northern U.S. and Canada), aim for R-49 to R-60 (and choose cellulose over fiberglass if you can). For moderate climates, R-38 to R-49 provides good performance. Even warm climates benefit from R-30 to R-38 to keep summer heat out. See our detailed guide from August 2024, “Seal the Deal: Boost Energy Efficiency with a Sealed and Insulated Attic and Basement,” for comprehensive attic weatherization techniques.
Air Seal the Attic Floor Before Adding Insulation. Air leakage through the attic floor (around recessed lights, plumbing stacks, chimneys, and attic hatches) can negate much of your insulation’s effectiveness. Take a class about how to seal these penetrations or hire a qualified professional to seal them for you before adding insulation. These air leaks are extremely important to block, but improper materials and techniques can do more harm than good, so this is one area where you’ll want to take extra precautions. This often-skipped step is crucial for both energy efficiency and moisture control. Pay special attention to the gaps around chimney flashing, plumbing vent pipes, and electrical wire penetrations—these are common culprits for massive air leakage.
Insulate and Air Seal Your Basement or Crawl Space. In cold climates, uninsulated basements and crawl spaces waste enormous amounts of energy and create uncomfortable living spaces. Insulating basement walls to R-15 and sealing rim joists (the wood framing where your first floor meets the foundation walls) can reduce heating costs by up to 20%. For crawl spaces, seal all vents, insulate the walls to R-15, and install a continuous vapor barrier on the ground. This creates a conditioned space that protects pipes and HVAC equipment from freezing while improving comfort and efficiency in living spaces above.
Upgrade to Storm Windows or Window Attachments. Full window replacement is expensive and disruptive, but exterior or interior storm windows provide most of the benefit at a small fraction of the cost. Exterior storms cost hundreds of dollars per window installed professionally, while DIY interior storm window panels can be built for half that or less per window using clear acrylic sheets and magnetic strips. Our November 2024 article, “Pane and Gain: A Guide to Window Performance,” provides comprehensive guidance on window performance improvements, including storm windows, thermal curtains, and solar heat gain management.
Advanced: Comprehensive Weatherization for Extreme Resilience
Install Heat Tape on Vulnerable Pipes. In cold climates, self-regulating heat tape on pipes in unheated spaces provides active freeze protection. Unlike passive insulation, heat tape uses electricity to warm pipes when temperatures approach freezing. Modern self-regulating varieties adjust power consumption based on temperature and pipe conditions, making them safe and efficient as long as you don’t overlap the tape. Install heat tape on pipes in crawl spaces, along exterior walls, or in unheated garages or basements, ensuring that you don’t overlap layers of heat tape. Connect each strip to a dedicated circuit with a ground-fault equipment protector (GFEP). If you connect to a ground fault circuit interrupt (GFCI) outlet, you may experience nuisance trips; the difference between GFEP and GFCI is that GFEP allows more current imbalance before tripping. While heat tape requires power, it provides crucial backup protection during extreme cold snaps. For true passive protection, combine heat tape with heavy pipe insulation and install a battery backup system in case of grid power failures.
Create a Passive Freeze-Protection Strategy. The ideal weatherized home maintains above-freezing temperatures in critical areas even during extended power outages. Achieve this through multiple layers: heavy insulation in walls and ceilings, strategic placement of water supply lines away from exterior walls, installation of drain valves at low points in plumbing systems, and keeping cabinet doors under sinks open during extreme cold to allow warm air circulation. In extreme climates, consider installing automatic drain-down systems that empty vulnerable pipes when temperatures drop dangerously low. Learn how to shut off and drain your entire water system quickly—this knowledge can save your home during extended winter power outages.
Implement Whole-House Air Sealing. Professional energy auditors use blower door tests to measure air leakage and infrared cameras to identify problem areas invisible to the naked eye. Homes built before 1980 often have air leakage rates three times higher than modern building codes allow. A comprehensive air sealing project targeting the worst leaks can cut air infiltration in half, dramatically improving comfort while cutting heating and cooling costs by a quarter. Focus on sealing major leakage points in the building envelope: rim joists, attic hatches, recessed lighting penetrations, plumbing penetrations, and the junction between walls and foundations. Our December 2024 article, “Seal the Savings: Your Home’s Holiday Gift to Your Wallet,” provides detailed weatherstripping and air sealing guidance.
Install an Emergency Heating/Cooling Zone. Designate one room or area of your home that you can keep comfortable during an extended power outage, so it maintains survivable temperatures for several days without power. Weatherize this space to the maximum: seal all air leaks, add extra insulation to walls if possible, install heavy thermal curtains or shutters, and ensure the space has adequate ventilation. In cold climates, this might be a small bedroom with a non-electric heat source like a vented wood stove. In hot climates, choose a room with minimal solar exposure that can be cooled with passive ventilation. Stock this space with emergency battery-powered fans, lights, and solar power packs that can charge a cell phone.
Upgrade Windows Strategically. If window replacement is necessary, prioritize based on impact and orientation. In cold climates, replace north-facing windows first—they provide no solar gain but lose the most heat. The best options are triple-pane windows with low-E coatings and argon or krypton gas fills (U-factor 0.20 or lower) for maximum insulation. In hot climates, focus on south and west-facing windows using low-solar-heat-gain coatings that block heat while allowing visible light. East-facing windows benefit both climates with appropriate glazing choices. Consider window-to-wall ratios—sometimes eliminating unnecessary windows and insulating the wall provides better overall performance than installing expensive high-performance windows. For detailed guidance on high-performance windows, see our August 2023 article, “A Window to Sustainability.”
Install Radiant Barriers or Cool Roofs. In hot climates, radiant barriers installed in attics reflect heat away from living spaces, reducing cooling loads by 10% or more. These reflective materials are affordable and can be installed by homeowners on the underside of roof decking or over existing insulation. Cool roof coatings or light-colored roofing materials can cut cooling costs by up to 15% in sunny climates.
Climate-Specific Weatherization Strategies
Cold Climate Priorities (Climate Zones 5-8: Northern U.S. and Canada)
Winter-Focused Strategies:
Maximize attic insulation (R-49 to R-60) to minimize heat loss and ice dams
Air seal aggressively—every gap becomes a pathway for warm, humid air to escape and cause moisture problems
Install thermal mass (interior stone or masonry) on south-facing walls to capture and store winter solar heat
Ensure vapor barriers are on the warm (interior) side of insulation to prevent condensation in wall cavities
Create ice dam prevention systems: proper attic ventilation combined with air sealing and insulation; metal roofs are the best solution
Install freeze-protection systems for pipes, including insulation, heat tape, and drain valves
Maintain passive heating capacity through south-facing windows without obstructions for winter solar gain
Critical Measurements:
Target air changes per hour (ACH50): 3 or less at 50 pascals pressure differential
Minimum attic insulation: R-49 (13 inches of cellulose)
Basement/crawl space walls: R-15 minimum
Windows: U-factor 0.30 or lower, Solar Heat Gain Coefficient 0.40 to 0.55 (allows winter solar gain)
Moderate Climate Priorities (Climate Zones 3-4: Central U.S.)
Dual-Season Strategies:
Insulate attics (R-38 to R-49) for both heating and cooling efficiency, keeping heat inside in winter and outside in summer
Implement strategic ventilation: natural cross-ventilation for spring and fall, sealed envelope for temperature extremes
Install low-E window films or coatings that allow winter solar gain while blocking summer heat
Focus on air sealing to reduce both heating and cooling loads year-round
Install programmable thermostats and zoned heating/cooling to optimize seasonal comfort
Prepare for both winter pipe freezing risks and summer heat waves with dual emergency systems
Critical Measurements:
Target air changes per hour (ACH50): 4 to 5 at 50 pascals pressure differential
Attic insulation: R-38 to R-49
Windows: U-factor 0.30 to 0.35, Solar Heat Gain Coefficient 0.30 to 0.40 (balanced performance)
Hot Climate Priorities (Climate Zones 1-2: Southern U.S., Desert Southwest)
Summer-Focused Strategies:
Focus on reflective barriers and cool roofing to reject heat before it enters living spaces
Install radiant barriers in attics (R-value matters less; reflective barriers matter more)
Maximize shade on south and west-facing walls and windows through landscaping or awnings
Seal air leaks to prevent hot, humid outdoor air from infiltrating conditioned spaces
Improve attic ventilation to remove heat buildup (ridge vents, gable vents, powered attic fans)
Install reflective window films on south and west exposures to block solar heat gain
Optimize for passive cooling: design for cross-ventilation, use thermal mass for night cooling storage
Critical Measurements:
Attic insulation: R-30 to R-38 (prevents heat transfer into living spaces)
Windows: U-factor 0.40 or lower, Solar Heat Gain Coefficient 0.25 or lower (blocks heat gain)
Cool roof solar reflectance: 0.65 or higher (reflects 65% of solar radiation)
Extreme Weather Emergency Preparations
Create a Rapid Weatherization Protocol. When severe weather warnings are issued, you may have just hours to prepare. Develop and practice a procedure that you can complete quickly:
Windows: Install pre-cut foam board insulation panels or heavy blankets over windows on the side facing prevailing winds
Doors: Deploy all draft stoppers and add heavy blankets or sleeping bags hung over doors leading to unheated spaces
Vents: Close and seal foundation vents, dryer vents, and bathroom/kitchen exhaust vents temporarily with magnetic covers or taped plastic
Pipes: Open cabinet doors under sinks, set faucets to a slow drip, and ensure heat tape is functioning
Emergency Zone: Gather family members, pets, and emergency supplies in your designated weatherized room
Backup Heating/Cooling: Test non-electric heating sources (propane, wood stove) or battery-powered cooling fans
Build Emergency Backup Systems. Resilient weatherization includes redundancy:
Heat: Non-electric heating sources with proper ventilation (vented propane heaters, wood stoves, kerosene heaters)
Cooling: Battery-powered fans, swamp coolers (in dry climates), or access to a cool basement or root cellar
Water: Backup water storage and knowledge of how to drain your plumbing system to prevent freeze damage
Monitoring: Battery-powered thermometers for multiple zones, pipe temperature sensors, humidity monitors
Communication: Weather radio, backup power for phones and internet to receive emergency alerts
Prepare for Extended Outages. The most resilient homes can maintain habitability for days or weeks without utility services:
Stockpile weatherization supplies: extra insulation materials, plastic sheeting, duct tape, caulk, foam board
Maintain heating fuel reserves: firewood, propane, kerosene stored safely
Install a whole-house or critical circuit backup battery system
Buy a balcony solar module or install a solar array to recharge your batteries every day
Create multiple survival zones: primary living area, cold-weather refuge, warm-weather refuge
Practice your emergency protocols annually so everyone knows their role when disaster strikes
Expert: Community-Scale Weatherization and Resilience
Organize Neighborhood Weatherization Workshops. Gather neighbors to learn and practice weatherization techniques together. Host hands-on demonstrations of air sealing, window insulation installation, and emergency preparation. Bulk-purchase weatherization supplies at discount prices. Create tool libraries where neighbors share blower door testing equipment, infrared cameras, caulk guns, and insulation tools. The collective knowledge and shared resources make weatherization accessible to everyone.
Establish Community Emergency Shelter Networks. Identify the best-weatherized homes in your neighborhood and create mutual aid agreements for extreme weather events. These homes become heating or cooling refuges during extended power outages. Coordinate emergency supplies, backup power systems, and communication networks. Ensure every household knows where to go and how to help during weather emergencies.
Create Community Energy Resilience Hubs. Advocate for designating and upgrading community buildings (schools, libraries, community centers) as resilience hubs with excellent weatherization, backup power, and capacity to serve as emergency shelters during extreme weather. These facilities can demonstrate best practices in weatherization while providing critical services during disasters. Partner with local government, utilities, and nonprofit organizations to fund and maintain these community assets.
Measuring Your Weatherization Success
Track Your Energy Use. Install a whole-home energy monitor or track monthly utility bills to measure the impact of weatherization improvements. Look for reductions in heating and cooling degree days, normalized energy consumption. Well-executed weatherization typically reduces heating costs by up to 40% and cooling costs by up to 20%. The Department of Energy’s Home Energy Saver calculator helps estimate savings from specific improvements.
Conduct Regular Thermal Inspections. Use an infrared thermometer or rent a thermal imaging camera to identify remaining problem areas. Conduct inspections during extreme temperatures when thermal differences are most visible. Check for cold spots in winter (indicating heat loss) or hot spots in summer (indicating heat gain). Document improvements over time and prioritize remaining trouble spots.
Test Resilience During Mild Weather. Practice power outage scenarios during moderate temperatures to identify weaknesses in your weatherization strategy. Turn off the heating and cooling systems, then measure how quickly temperatures change. A well-weatherized home in cold climates should maintain above 50°F for 48 hours without heat. In hot climates, interior temperatures should rise less than 15°F above outdoor temperatures during the day with good weatherization and passive cooling techniques.
Your October Weatherization Action Plan
Winter is indeed coming, along with increasingly extreme summer heat waves. But don’t panic—prepare. This October, commit to completing at least one weatherization improvement before the first freeze or next heat wave. If you’re renting, start with the no-permission-required quick wins that will pay dividends immediately. If you own your home, consider tackling an intermediate project and planning for advanced improvements next year.
The beauty of weatherization is that every improvement builds on the previous one. Installing window film makes your heating system more effective. Air sealing makes insulation perform better. Better insulation enables you to save money by installing smaller, more efficient HVAC equipment. And together, these improvements create a home that protects you and your family when extreme weather strikes and power fails. So light up your incense and start finding those air leaks this weekend for sustainability you can feel!
References and Resources
U.S. Department of Energy (Energy Saver)
Weatherization Assistance Program (WAP) – Federal program providing grants and technical guidance for home energy upgrades.
Insulation: Recommended R-Values by Climate Zone – DOE table showing target R-values for attics, walls, and floors in every U.S. climate zone.
Energy Efficient Window Coverings – DOE guide on thermal curtains and window quilts that can cut heat loss up to 40%.
Why Energy Efficiency Matters – Overview of national household energy waste and savings potential.
Energy Efficient Home Improvement Credit (2023-2025) – Tax incentives for insulation, air sealing, and weatherization improvements.
ENERGY STAR (US EPA / DOE Program)
Seal & Insulate: Why It Matters – Reports average 15 % heating + cooling savings from proper air sealing and insulation.
Research & Program Data
Weatherization Works! Fact Sheet (2023 Update) – DOE summary of WAP results: average 12–20 % household energy savings.
Getting It Right: Weatherization and Energy Efficiency Are Good Investments – DOE/ORNL analysis of long-term benefits and cost effectiveness.
Professional Training & Certification
Residential Energy Services Network (RESNET) – Find certified energy auditors and HERS raters.
Building Performance Institute (BPI) – National credentials for weatherization professionals.
Emergency Preparedness & Community Resilience
Ready.gov – Severe Weather Preparation – Federal checklist for household emergency readiness.
American Red Cross – Winter Storm Safety – Practical steps for heating, pipes, and power outages.
CDC – Extreme Heat Guidance – Health and safety recommendations for heat waves.