Sow It, Grow It: Nutrient-Dense Food From Your Indoor Garden
Imagine walking into your kitchen on a snowy February morning and harvesting a handful of fresh, vibrant greens for your breakfast smoothie. No plastic packaging to throw away, no transportation...
Imagine walking into your kitchen on a snowy February morning and harvesting a handful of fresh, vibrant greens for your breakfast smoothie. No plastic packaging to throw away, no transportation emissions, no questions about agricultural practices—just pure, nutrient-dense food you've grown yourself. This week, we're exploring one of the most powerful yet accessible ways to reduce your environmental footprint while dramatically improving your access to fresh, healthy food: growing your own sprouts and microgreens.
This practice might sound technical, but it's actually an ancient and natural form of food production, adapted for modern kitchens. Whether you have a sunny windowsill or just a quiet corner of your counter, you can join a growing movement of people taking control of their food supply while helping to reduce agricultural impact on our planet. Let's explore how to start this rewarding journey, beginning with the simplest methods and progressing to more advanced techniques.
Understanding Your Growing Options
Before diving in, let's understand the difference between sprouts and microgreens because they offer different benefits and require different approaches. Sprouts are germinated seeds eaten whole, root and all, grown without soil or lights using just water. They're ready in less than a week and require minimal equipment. While they're super easy to grow, they do require careful attention to cleanliness if you choose to eat them raw. You can reduce the chance of pathogens being present on sprouts by rinsing them with clean water or by cooking them, such as by adding them to a stir fry.
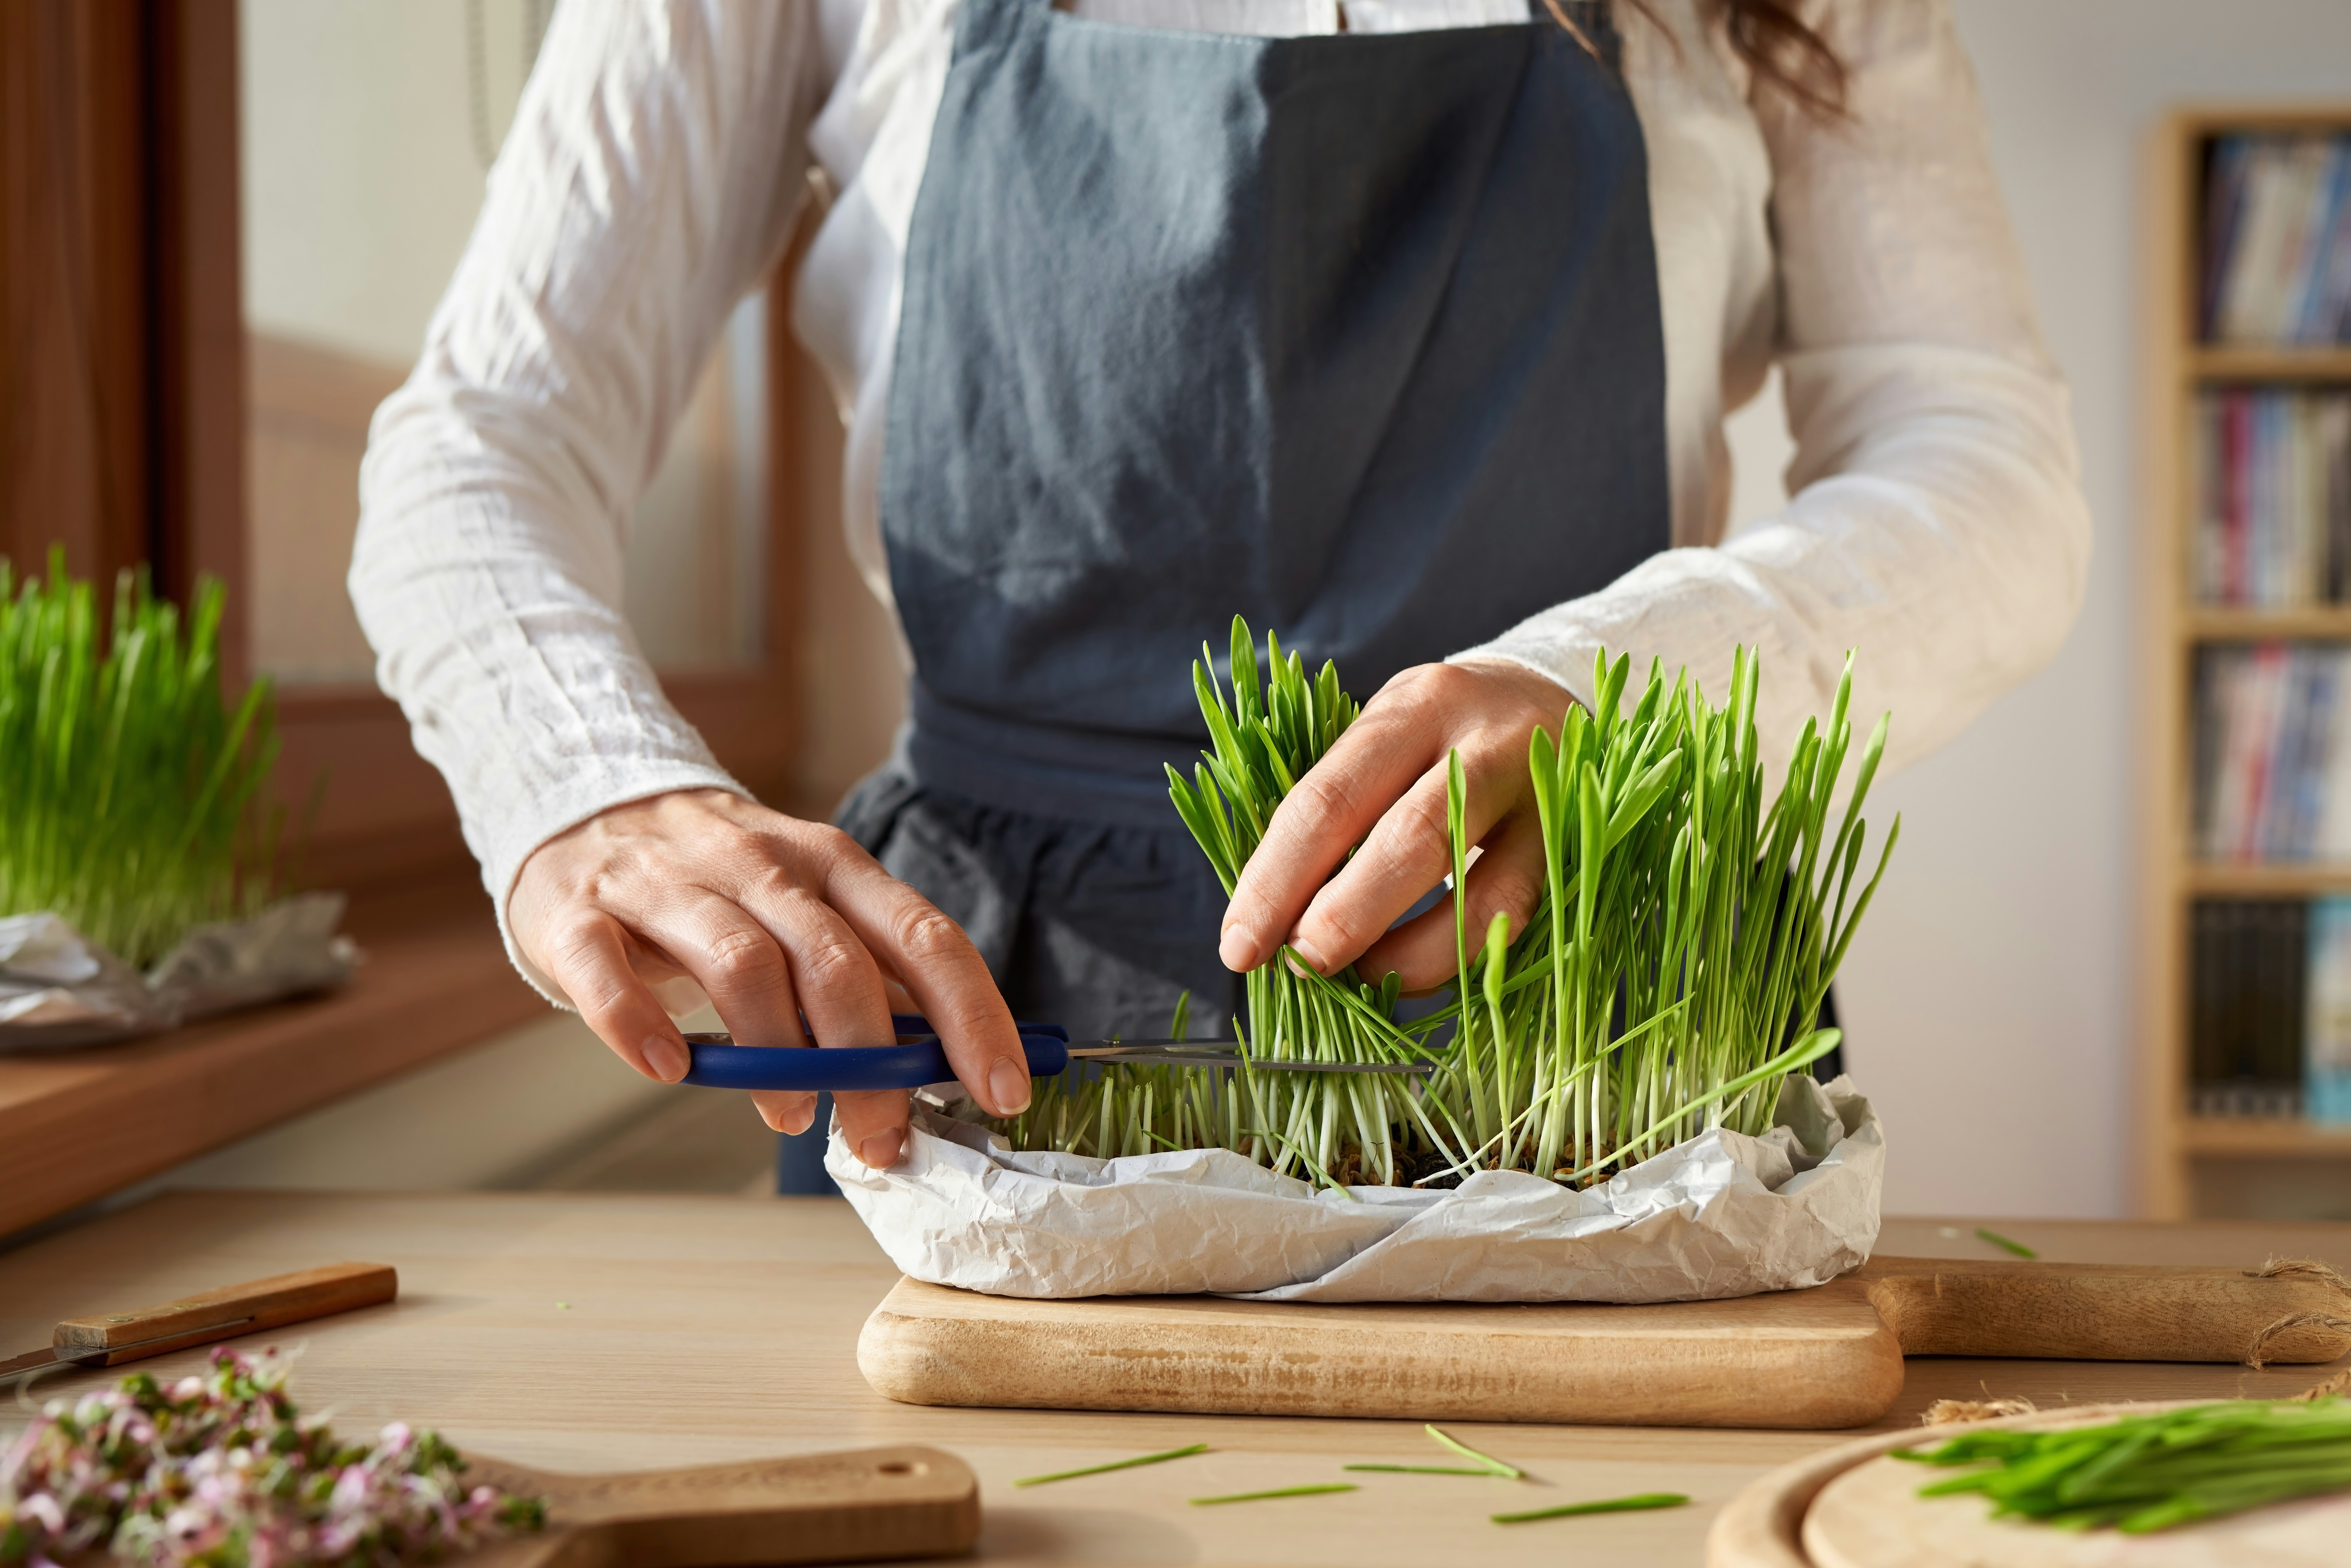
Microgreens, on the other hand, are young vegetable greens harvested after their first true leaves appear, typically when they're less than three inches tall. There’s less risk of pathogens in microgreens because exposing the leaves to light tends to dry out the surface of the plants and make them less hospitable to the types of microorganisms that cause food-borne illnesses. You generally use little scissors to cut microgreens at the stems, eating the tops of the plants and composting the roots to produce potting soil for your next batch of microgreens.
It’s still a good idea to rinse microgreens in clean water before consuming them and to avoid eating any wilted or soiled plants. Though they take a bit more equipment and time (up to two weeks), microgreens reward you with intense flavors and high nutrient density—as the roots absorb nutrients from soil and leaves begin using light to synthesize proteins and combine carbon dioxide with water to form carbohydrates and pure oxygen.
Choose Your Path: From Beginner to Expert
Your journey into indoor growing can start as simply or ambitiously as you like. Let's explore each level so you can choose where to begin.
The Sprout Pioneer (Quick-Start Level)
Perfect for beginners or those with limited space and time, sprouting requires just a mason jar and sprouting lid—about $10 total. Spend five minutes each day rinsing your sprouts, and you'll have your first harvest within a week. Start with foolproof varieties like alfalfa, mung beans, or radish. This is your gateway to understanding home food production with minimal investment.
The Windowsill Gardener (Intermediate Level)
Ready to explore soil growing? A basic microgreens setup requires just a growing tray, soil, and seeds—about $30 total. Your sunny windowsill becomes a mini garden producing nutrient-dense greens like radish shoots, pea shoots, and sunflower greens. For variety, try growing basil, parsley, dill, and other hardy herbs. Ten minutes of daily attention yields flavorful, fresh harvests every week.
The Year-Round Grower (Advanced Level)
When you're ready to grow regardless of season, adding an LED grow light and a small fan creates a self-contained growing environment. This setup requires a small table or shelf and about as much time each day as it takes to listen to the local news. Now, you can explore all varieties of microgreens, including delicate herbs and specialty greens, while maintaining consistent harvests no matter what weather is raging outdoors.
The Self-Sustaining Gardener (Expert Level)
At this level, you're creating a closed-loop system: saving seeds, mixing soil, and possibly breeding your own varieties. You might integrate your indoor growing with outdoor gardening, maintaining multiple growing stations and experimenting with new techniques. This approach requires more investment but offers complete control over your food production.
Seed Selection and Storage: Your Growing Foundation
Choosing the right seeds yields the best success, and understanding the difference between conventional and organic seeds matters. Conventional seeds might be treated with fungicides or pesticides, while organic seeds are never treated with synthetic chemicals. Look for seeds specifically labeled for sprouting or microgreens from reputable suppliers like Johnny's, High Mowing, Baker Creek, or Seed Savers Exchange.
Store your seeds properly to maintain their vitality: keep them cool and dry in airtight containers labeled with purchase dates. Canning jars work great. Most seeds remain viable for two or three years, though some, like onion family seeds, last just one year. Others, like tomatoes, can stay viable for five years or more. Check viability by taking five seeds from a batch, putting them between two damp paper towels on a plate in a corner of your kitchen, and then seeing how many sprout within a few days. If only one or none sprout, that batch is no longer viable.
Integrating with Outdoor Gardening
If you're an outdoor gardener, growing microgreens indoors creates a perfect complement to your garden. Let some of your outdoor plants go to seed—many common garden vegetables like basil, arugula, radish, kale, beets, and cilantro make excellent microgreens. Rather than pulling up all your plants at harvest time, let some of them reach sexual maturity and senescence, producing flowers and fruits with seeds inside. Then, you can collect these seeds, dry them, and store them. This approach gives you year-round fresh greens while saving money on seeds and delving into the fascinating study of complete plant life cycles.
The Environmental Impact
Growing your own sprouts and microgreens results in a remarkable reduction in environmental impact. One pound of seeds can produce up to ten pounds of microgreens in a space no larger than a typical microwave. The same nutrition from conventional agriculture—which waits to harvest mature plants when they are much bigger, full of more fiber and carbohydrates and water but not much more nutrition—would require about ten times more growing space. Plus, you're eliminating packaging waste and transportation emissions.
References and Further Reading
How to Grow Sprouts in a Jar, Pickles & Honey
A Step-By-Step Guide for Growing Microgreens at Home, PennState Extension
Your First Growing Week
Start your journey this week with these simple steps:
Purchase organic sprouting seeds from a reputable supplier
Set up your first growing vessel (jar for sprouts or tray for microgreens)
Establish a daily routine of monitoring and caring for your crops
Track your results and learn from each harvest
Celebrate your first homegrown meal
Remember, whether you stick with simple sprouts or progress to a full microgreen operation, you're participating in a movement toward more sustainable food. Each handful of greens you grow represents a small but meaningful step toward a healthier planet—and a healthier you!