From Drips to Dollars: Detecting and Fixing Water Leaks
A single hidden water leak can waste thousands of gallons of precious water and—worst of all—quietly cause devastating structural damage to your home. Undetected leaks in toilets and sinks can add...
A single hidden water leak can waste thousands of gallons of precious water and—worst of all—quietly cause devastating structural damage to your home. Undetected leaks in toilets and sinks can add hundreds of dollars annually in water bills, while severe leaks in plumbing can lead to repair and remediation costs in the tens of thousands. But here's the good news: winter is the perfect time to become a water leak detective, and you don't need expensive equipment to get started. Whether you're ready to invest in advanced monitoring technology or prefer simple “look and see” solutions, here are effective ways to find costly leaks before they find you.
Quick-Start Leak Detection
Start with these simple, no-cost methods to check for leaks.
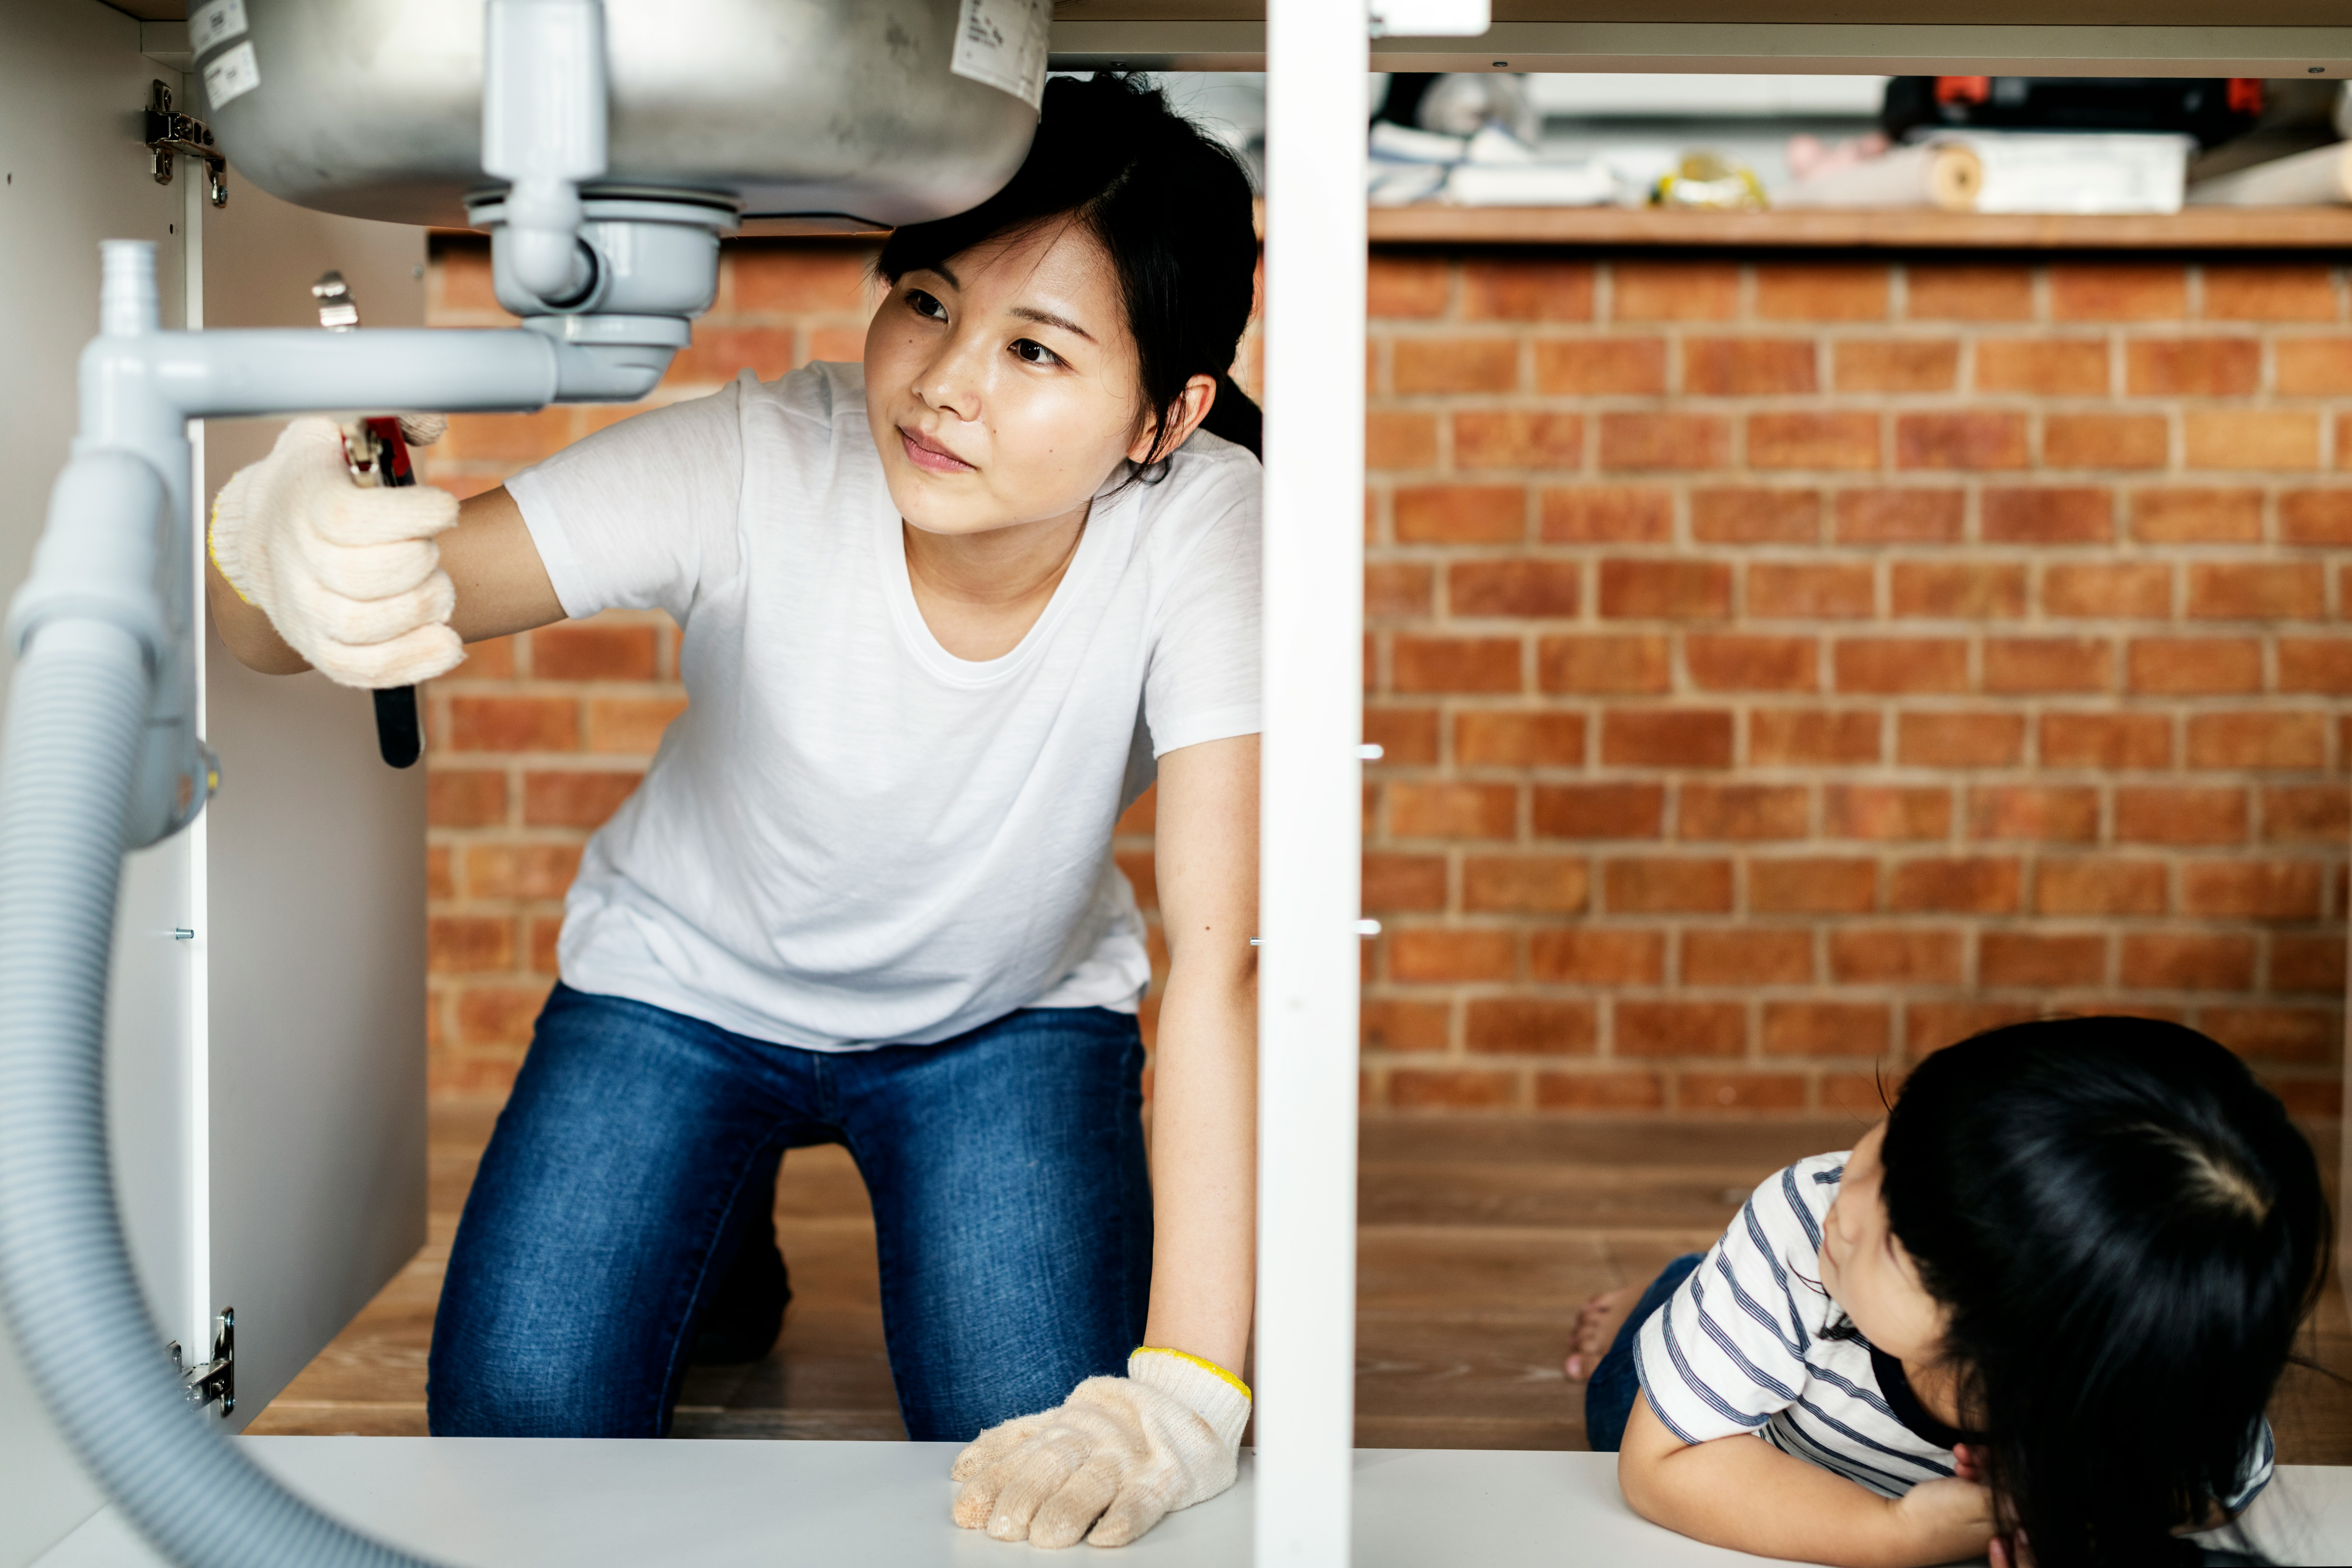
Visual Inspection
Spend an hour to check these common problem areas for signs of water leaks:
Under sinks and around toilets
Behind washing machines and water heaters
Along visible pipe runs in basements or crawl spaces
Around outdoor spigots and irrigation systems
The Meter Test
Find your water meter and figure out how to take a reading:
Schedule two hours to stop intentionally using water in your home
Record your water meter reading
Wait two hours without using any water: no flushing toilets, taking showers, doing laundry, washing hands, making ice, etc.
Check the meter again - any change indicates a leak
Toilet Leak Detection
Figure out how to open your toilet tank (the part that stores water, not the bowl)—usually, the top just lifts off. Place a few drops of food coloring in the water in your tank. This water should not leak into the bowl until you flush. If color appears in the bowl within 30 minutes without flushing, you have a leak that could be wasting 300 gallons daily. If you find a leak, call a plumber or look up how to clean or replace the seal between the tank and bowl for your type of toilet.
Intermediate Steps
Understand Your Water Use
Review your historical water use and calculate your average monthly consumption. If you use city water, monitor your utility bills and take quick action if you notice an unexplained spike in consumption. If you use well water, familiarize yourself with your system's operation and look for a sudden and sustained increase in water use.
Install Water Leak Detectors
Like a smoke detector or a carbon monoxide detector, a water leak detector is a relatively affordable (usually $50 or less) device that sounds an alarm if it detects water. Smart detectors can use your home’s Wi-Fi to send an alert to your smartphone. Place leak detectors where there might be a leak, such as in your laundry room or in a cabinet under a sink.
Check Water Pressure
When outdoor temperatures allow, screw a water pressure gauge on an outdoor spigot to verify that your water pressure is between 40 and 60 psi. High pressure (above 80 psi) can stress pipes and increase leak risk. Consider installing a pressure reducer if readings are consistently high. (Note: if you live in a very cold climate, this step will need to wait until spring, when you can begin using your outdoor spigots.)
Advanced Steps
For those ready to invest in comprehensive protection:
Whole-House Water Monitoring
Modern systems offer:
Real-time water use tracking
Automatic shut-off when leaks are detected
Smartphone alerts and usage analytics
Integration with home automation systems
EPA data show these systems can reduce water waste by 35% through early leak detection and usage optimization.
Maintenance Checklist
Fall Preparation (in Cold Climates)
Disconnect and store all garden hoses
Drain and shut off dedicated irrigation lines
Install insulated covers on all outdoor spigots
Close interior shut-off valves to outdoor spigots and drain the lines
For frost-free spigots, verify the proper drainage angle (slight downward slope)
Winter Protection
Insulate all exposed pipes, especially in unheated areas
Seal gaps where pipes enter your home
Know your main water shut-off valve location
Keep exterior windows and doors closed to keep pipes from being exposed directly to cold air
During severe cold snaps or power outages that prevent you from maintaining warm indoor temperatures, let faucets drip slightly and open cabinet doors under sinks
Mid-Winter spigot check
Gently touch or examine outdoor spigot covers - they should be securely in place and dry inside
Listen for dripping sounds that might indicate incomplete drainage
Check basement or crawl space areas where spigot pipes enter the house for signs of moisture or frost
Verify that interior shut-off valves remain closed
If you find a frozen spigot, call a plumber immediately.
Spring Preparation
Check outdoor spigots for freeze damage
Inspect irrigation systems before first use
Test water pressure on outdoor spigots
Addressing Water Leaks
Any evidence of water leaks is a serious issue because, under some conditions, mold can develop within 24 to 48 hours and continue to grow until the moisture source is eliminated. Finding the source of a water leak can be extremely difficult since water can flow horizontally along boards and pipes. We once had a water leak in our kitchen directly underneath an upstairs toilet, but after spending a weekend fruitlessly studying every square inch of the toilet and the area around it, we called in a plumber. The leak was in plain view from a water pipe going to a clawfoot tub on the other side of the bathroom—which we could have easily found if we had simply turned around instead of fixating on the toilet!
Leaks can be due to ice dams, insect or rodent damage to caulk or flashing, or plumbing issues. Treat any evidence of a water leak as a serious issue and get to the bottom of it as quickly as possible. Prompt action can prevent mold and mildew growth—saving the cost of difficult and expensive remediation that will be necessary if a water leak is allowed to persist.
Thawing Frozen Pipes
Signs of frozen pipes are reduced or no water flow after a cold spell or leaks as frozen pipes thaw. If you suspect frozen pipes, the best course of action is to call a plumber. “Do-it-yourself” pipe thawing is dangerous because:
Ice may have already cracked the pipe, and thawing could trigger a major leak
The location of the ice blockage isn't always obvious—it could be deep inside your walls
Rapid thawing can cause pressure buildup that splits pipes
Open flames or heat guns can permanently damage pipes or cause fires
If professional help isn't available to thaw pipes:
Immediately locate and familiarize yourself with your main water shut-off valve
Never use open flames, heat guns, or electric heaters directly on pipes
Shut off water to the frozen section of the pipe (turn off your main water shut-off valve if necessary) and open a faucet or spigot on the other side of the blockage to relieve pressure
Apply gentle heat to the frozen section of the pipe by turning up your home’s heat, using an electric space heater (in the same room as the pipe, but not touching the pipe) and fan to circulate warm air in the problem area, using a hair dryer to blow warm air on the pipe, or applying warm towels to exposed pipes
Keep vulnerable items away from the area below any frozen pipes
Place buckets or towels to catch potential leaks
Wait to turn on the water until you’re sure you’ve melted all the ice in the pipe
After you turn the water back on, monitor the area frequently for signs of thawing or leaking, and be prepared to shut off the water again
Water-Saving Best Practices
Combine water leak monitoring with these habits:
Turn off faucets firmly and completely (a single drip can waste 20 gallons daily)
Every few years, replace toilet flappers (the seals between the tank and bowl)
Install water-efficient fixtures (look for WaterSense labels)
Regularly inspect filters and valves throughout your plumbing system
Ensure your plumbing system has well-labeled valves in convenient locations so you can isolate and fix leaks easily
Community Impact
Protecting your home's water system has broader benefits:
Reduces strain on municipal water infrastructure
Lowers energy use for water treatment and pumping
Preserves water resources for future generations
Lowers the price of water for everyone by reducing demand for water
Taking Action This Week
Complete a basic leak detection audit using the meter test
Inspect all visible pipes and fixtures
Document your typical monthly water usage as a baseline
Research monitoring options that fit your budget and needs
Schedule any needed repairs or upgrades
Remember: The most expensive monitoring system isn't always the best value. Start with basic checks and upgrade based on your home's specific needs and your comfort with technology. Whether you choose manual monitoring or automated systems, the key is regular attention to your water system's performance. Start with the basics and build up to more sophisticated solutions as needed.
References and Further Reading
Fix a Leak Week, Environmental Protection Agency
How to Read Your Water Meter, Arizona Municipal Water Users Association
How to Detect a Leaky Toilet, City of Corinth, Texas
The 6 Best Water-Leak Detectors for Protecting Your Home, Popular Mechanics
How to check water pressure, Grundfos
Whole house water leak detection systems with automatic shut-off, State Farm
Best Water Leak Detector Systems, Consumer Reports
Monitoring your well water system for leaks and pump problems, Oakville Pump Service
How Long Does It Take for Mold to Grow?, Mold Solutions
How to Thaw Frozen Pipes, Bob Vila
WaterSense, Environmental Protection Agency